
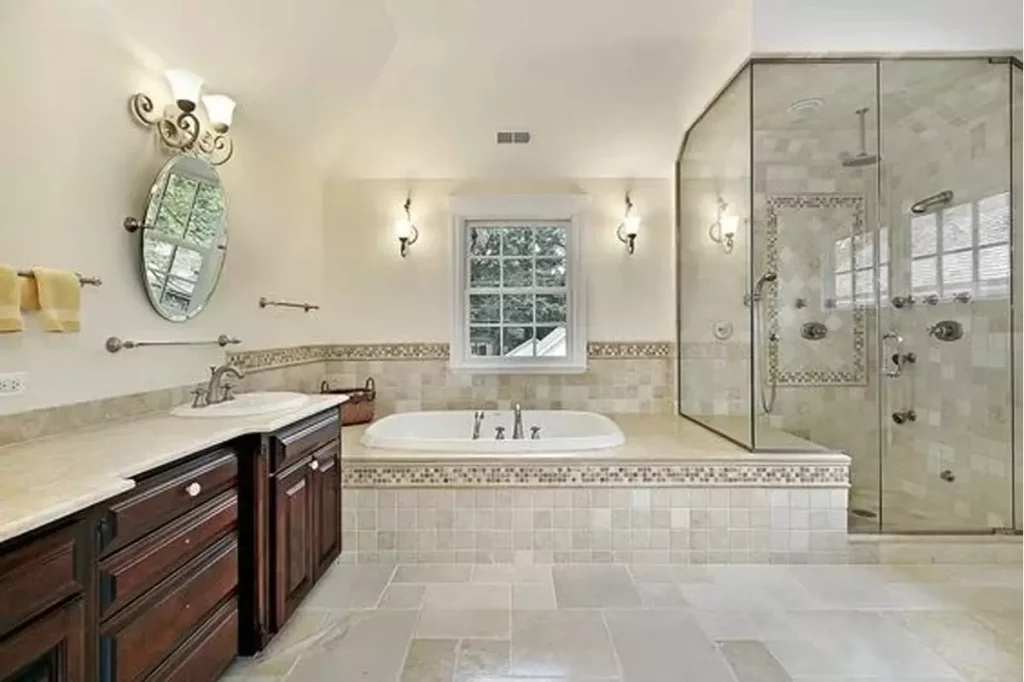
The process of remodeling a bathroom can be both expensive and time-consuming, but it doesn’t have to be. Use Our guide to help you decide what steps you need to take to remodel your bathroom in seven simple steps without breaking the bank. Let’s know our 7 steps to remodel a bathroom.
Step 1: Remove Bathroom Fixtures
In order to create a more functional bathroom you will want to remove all of your old fixtures, lights, and cabinets from around your sink and toilet. In some instances, you may want or need to relocate your toilet and/or vanity. If so, don’t worry; it’s not as difficult as it seems.
In fact, most of them can be easily removed with only a few tools (Screwdriver, Pliers). Check out how here. Patch up Cracks & Sink Holes: Once everything is out of your bathroom it’s time for patching up any cracks or holes in your walls or floor that might have been caused by removing fixtures.
Step 2: Install The New Shower Or Tub
In most cases, you’ll need to remove an existing shower or tub before installing a new one. If your walls are framed, it will be fairly simple. Plumbing lines will likely have to be cut and rerouted. If your walls aren’t framed (most often), you’ll have to frame them and hang drywall, too.
Expect help from professionals if you don’t have experience with framing or drywall installation; plan on spending hundreds of dollars in labor costs as well as materials for any kind of major remodeling job like replacing your bathroom floor plan and walls.
Step 3: Lay The New Flooring
Remove Your Old Flooring and Install a New One: If you’re going with new tile, buy it before you start any demolition. Once you’ve taken out all of your old tiles, lay down the new backer board for better adhesion. Laying down plywood first is another option, but some find it messy. If you have hardwood floors that aren’t in need of repair or sanding, remove them by cutting off their nails or by simply prying them up with a crowbar.
Be aware that doing so will release sawdust into your bathroom; take precautions to prevent dust from getting everywhere else in your home if that happens. And once they’re gone, remember not to stand on your bare floor!
Step 4: Hang Drywall And Start Painting
Once you’ve finished framing, it’s time to drywall and paint. You can do these yourself or have an experienced carpenter do it for you—just make sure he knows how high to hang and where to cut. The ceiling and walls need 10-12 coats of primer and at least three coats of paint.
After one coat, wait 24 hours before applying a second coat so that everything is well-dry between layers; your paint will peel off in large flakes if you try painting when it’s too wet.
Step 5: Install Cabinets And Vanities
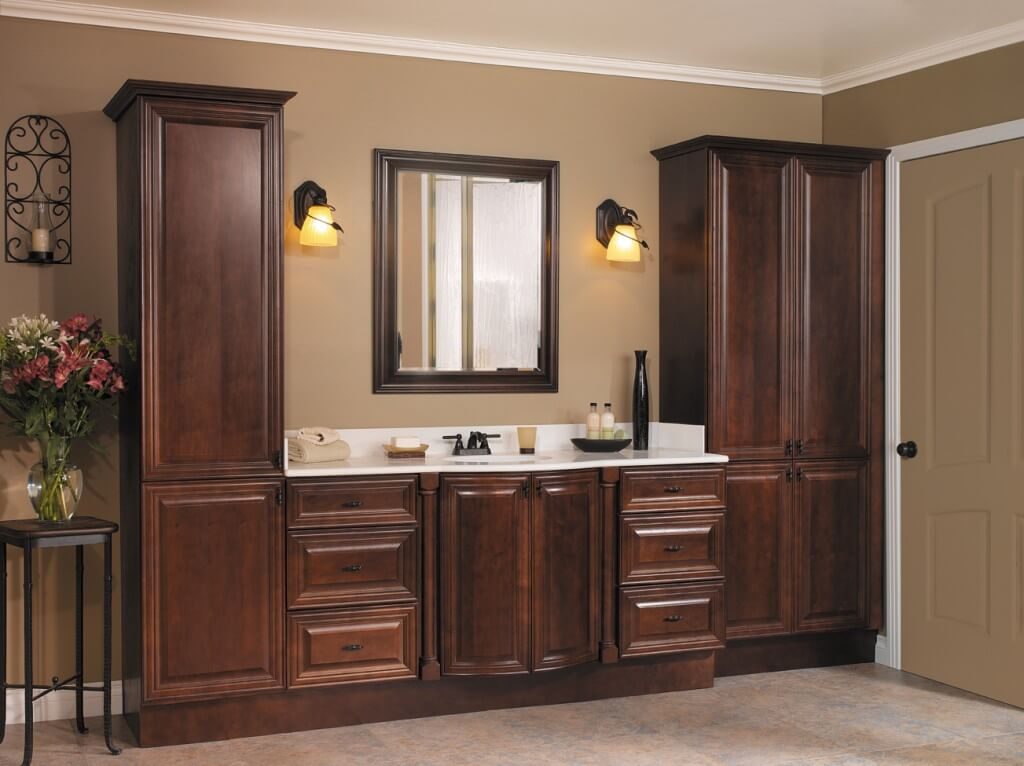
A vanity cabinet should complement, not overpower, a bathroom. Fortunately, cabinetry comes in all shapes and sizes, with dozens of choices available for do-it-yourself bathroom remodeling in Honolulu projects. Start your bathroom remodeling project by measuring and sketching out exactly where you want your vanity to go.
Then choose from your favorite styles and finishes and have them delivered directly to your home. For example: If you’re doing a standard bath, chances are you’ll have 8 or 12 inches around all sides of your bathroom vanity—but if you’re installing one over a pedestal sink, make sure there are about 24 inches on both sides for easy access.
Step 6: Update Lighting
The lighting in your bathroom should be installed with your needs in mind, rather than being built-in. Think about how you want your bathroom to look, and choose lights accordingly. Go for big pendants over multiple recessed cans or halogen sconces if you want a different effect.
And if you do go for recessed can lights, make sure they’re dimmable so that they’re as functional as possible. If you go with fluorescent bulbs as part of your bathroom remodeling process, think about switching them out for LED versions when it’s time for an update—they last longer and use less energy, which can save you money over time.
Step 7: Hook Up The Plumbing
If you’re remodeling an old bathroom, getting rid of old pipes and installing new ones might be required. Hire a plumber or call one out for advice on how to do it yourself. You can usually find replacement fixtures at your local hardware store.
If you’re going with fixtures from scratch, make sure to buy high-quality models that come with warranties if possible—you don’t want anything leaking in your newly renovated space! Always disconnect power and water before starting work on the plumbing. And wear rubber gloves, shoes, and goggles when handling old piping, so that you don’t accidentally injure yourself during your bathroom remodeling.
Conclusion
Remodeling a bathroom is something you’ll likely do once or twice in your life. If you do it right, it’s worth every penny. But if you make a mistake, everything could come crumbling down. Follow these 7 steps to remodel a bathroom and get ready for an amazing new bathroom that will leave friends and family shaking their heads with envy.
If you need a remodeling service in Hawaii you contact our remodelers.